
Gardening
Controlled Chaos
Decorating for the holidays and into the New Year wouldn’t be the same at Connecticut Country House without containers full of fragrant, blooming paper whites. It takes about 3-4weeks for these papery beauties to flower, so now’s the time to start potting them up.
It’s easy.
• Choose a container – I love to set them into an assortment of old clay pots and lined baskets.
• Lay crushed stone or clay pot shards in bottom of container to provide drainage.
• Fill container to 1-inch from the top with potting soil.
• Place each bulb, pointed side up, about 1/3 into the soil, keeping bulb 2/3 above soil line. Cluster them closely, like eggs in a carton, for a fuller arrangement.
• Place in a sunny spot and water well.
• As they start to grow, they will push themselves out of the soil, so gently push them back in.
• Use plant supports early – twigs and twine are natural supports.
• Once they’re in bloom, and to keep them flowering longer, move them to a cooler spot (between 55-65°F) with indirect light.
My readers always ask me how I keep them from flopping when they’re at full height. To be honest, I don’t. Within reason, I let them naturally do their thing. Initially staking the emerging plants with twigs and twine works – to a point. One day they’re casually elegant, and the next, they’re arching over the string like competing Olympic high jumpers.
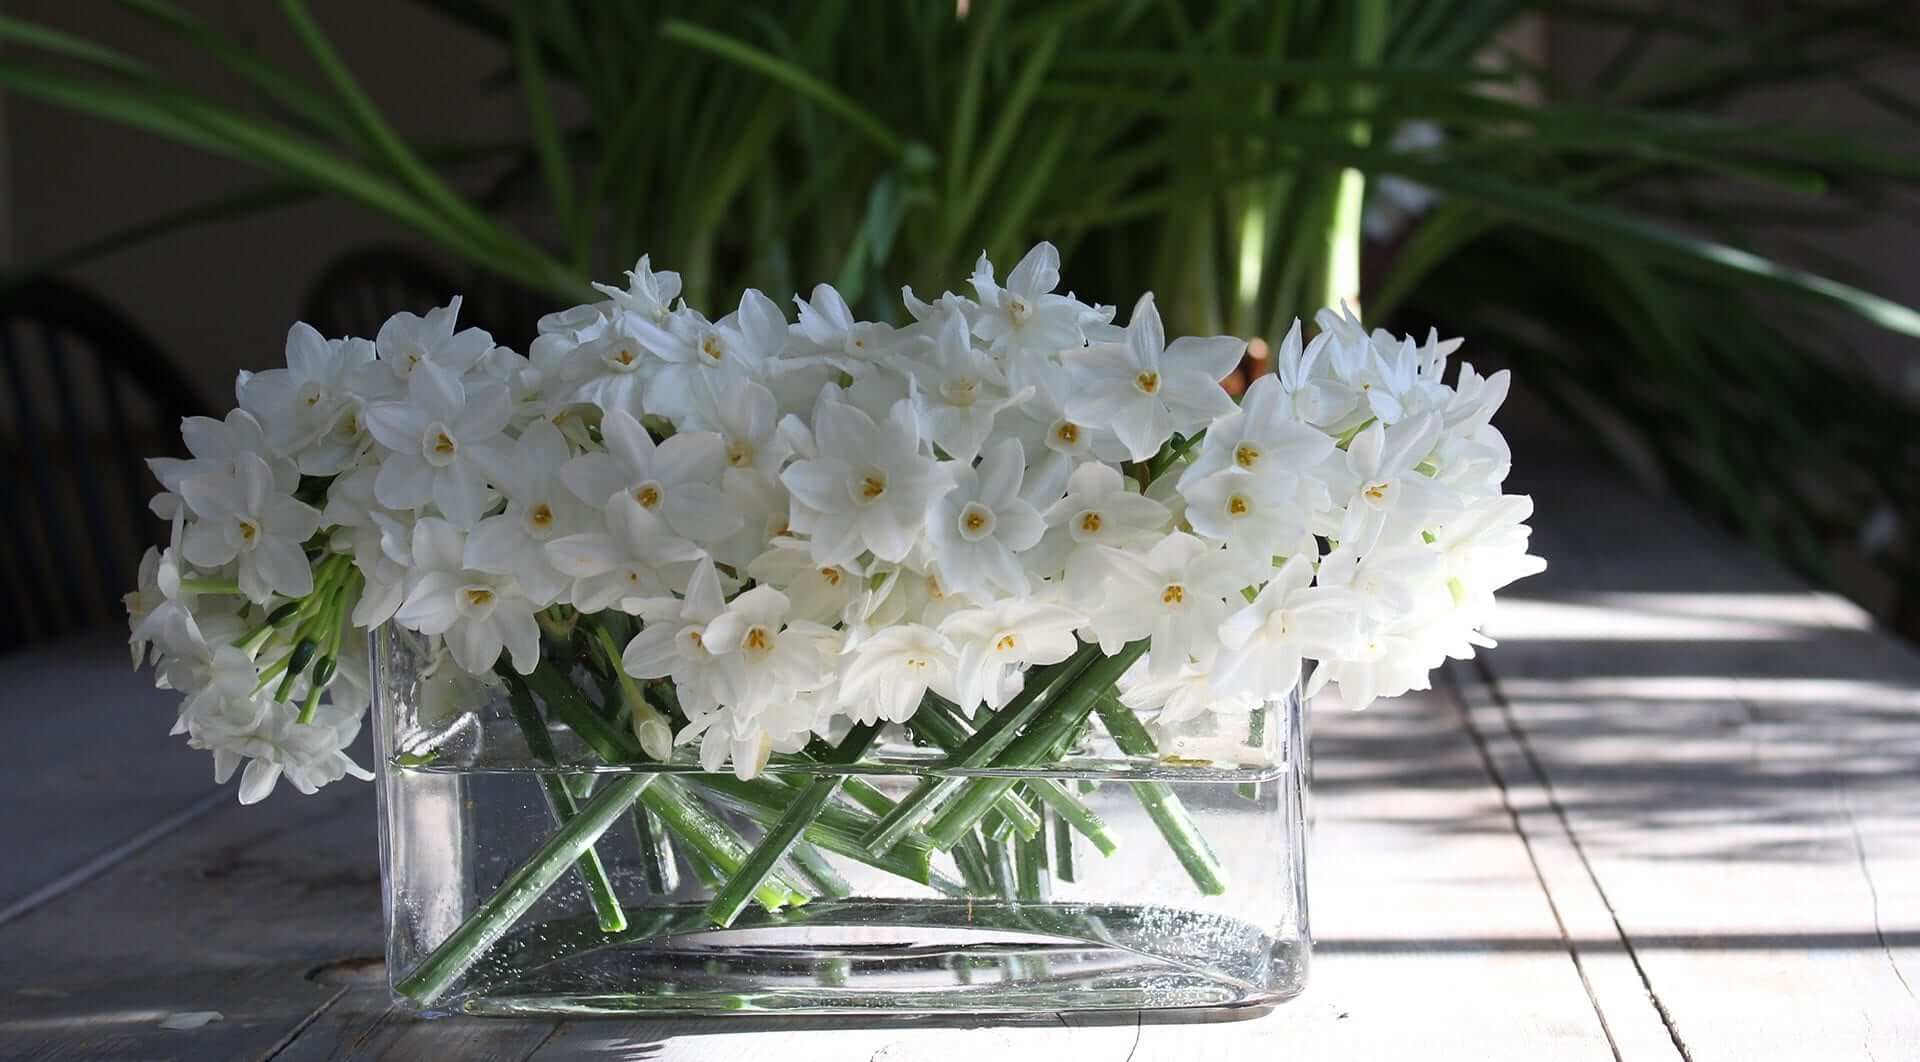
While a little “floppage” is okay in my book, sometimes it just gets too out of control. So I snip the wayward blooms and use them to create lasting arrangements. Paper whites make excellent cut flowers. I create my stem cuts at the top of the bulb, leaving behind the better-behaved, still upright flowering stems. After some order has been restored, I can enjoy these gorgeous, fragrant flowers in both their growing state, and as a pretty bouquet in a simple glass container.
Happy decorating!
Love, Nora